Living in Pakistan, your Computerized National Identity Card (CNIC) is much more than just an ID; it’s your primary legal identity document for almost everything, from opening a bank account to getting a mobile SIM. An expired CNIC can bring many daily tasks to a halt. Thankfully, NADRA has introduced the e-Sahulat and Pak-Identity online services, making the CNIC renewal process much more convenient, especially for those who find it difficult to visit a NADRA office in person.
This guide will walk you through every single step of renewing your CNIC using the NADRA e-Sahulat and Pak-Identity portal. We’ll cover everything you need to know, from preparing your documents to understanding the fees and receiving your new card at your doorstep. Consider this your go-to resource for a smooth and hassle-free CNIC renewal.
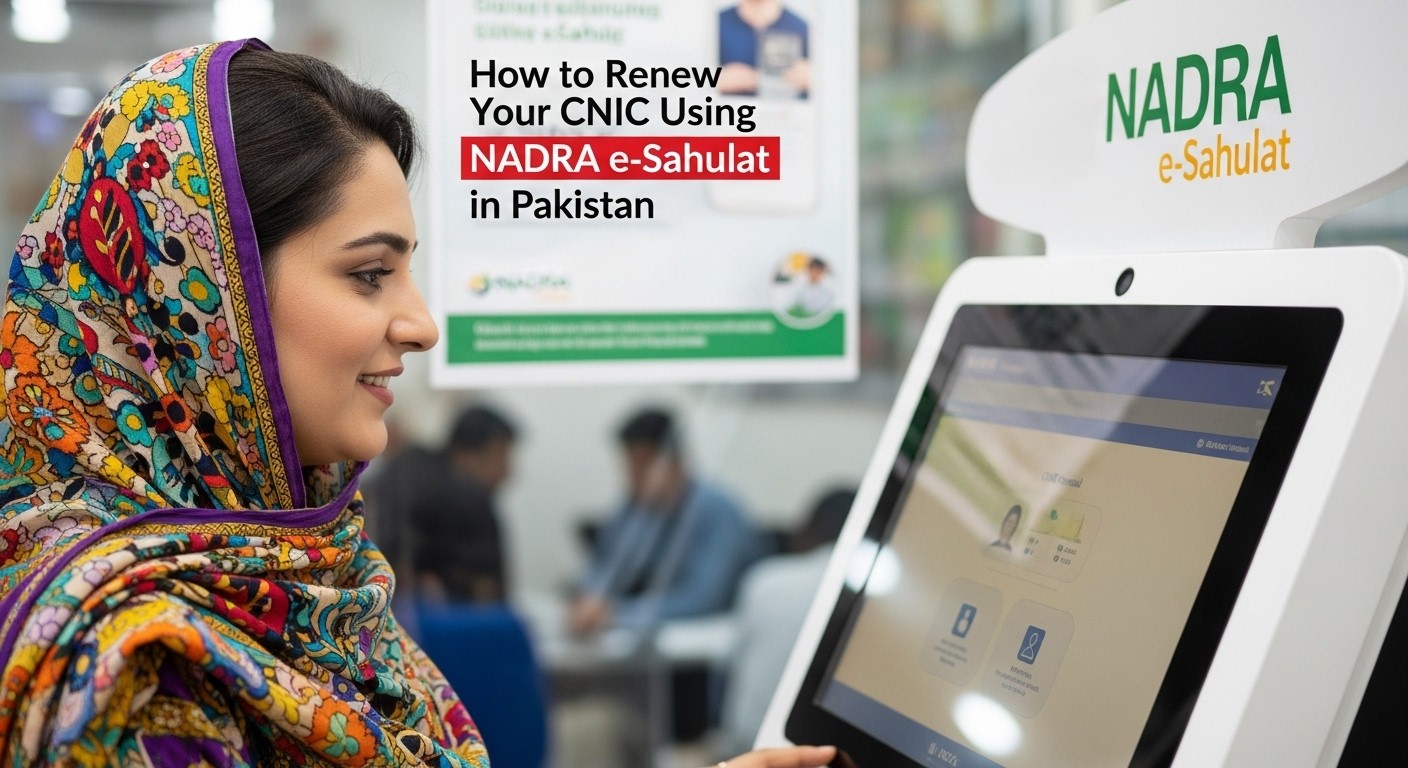
Understanding NADRA e-Sahulat and Pak-Identity
Before we dive into the process, let’s clarify what NADRA e-Sahulat and Pak-Identity are. While often used interchangeably, Pak-Identity is NADRA’s official online portal (id.nadra.gov.pk) for applying for various ID documents, including CNICs and NICOPs. NADRA e-Sahulat centers are essentially franchise outlets, often found in local shops or post offices, that provide NADRA services, including biometric verification and fee payment facilities, for those who prefer an assisted approach or lack personal online access.3 For CNIC renewal, you will primarily use the Pak-Identity portal.
The goal of these initiatives is to simplify access to NADRA services, making them available to citizens across Pakistan and even abroad, without the need for extensive travel or long queues at NADRA registration centers.
Step 1: Preparing Your Documents and Essentials
This is a crucial first step that often causes delays if not done correctly. Gather all necessary documents and ensure you have the right equipment ready.
Here’s a detailed list of what you’ll need:
Requirement | Details / Notes |
Your Expired/Soon-to-Expire CNIC | Have your current CNIC readily available. You’ll need its details to start the application. |
Recent Photograph | A passport-sized, recent photograph with a white or light blue background is mandatory. Ensure it meets NADRA’s photo guidelines (no shadows, clear facial features, neutral expression). You’ll need a digital copy (JPEG or PNG format). |
Scanned Supporting Documents | Depending on your case, you might need:
|
Biometric Capture Method |
|
Internet Connection | A stable and reliable internet connection is vital to avoid disconnections during the application. |
Payment Method | A valid credit or debit card (Visa or MasterCard) for online fee payment. |
Email Address | A functional email address is required for registration and receiving updates. |
Mobile Number | An active Pakistani mobile number for verification and SMS alerts. |
Tip: Scan all your documents in high resolution (300 DPI or more) and save them as clear JPEG or PDF files. Ensure the file sizes are manageable for upload. A common mistake is using blurry or low-quality scans which NADRA will reject.
Step 2: Creating Your Pak-Identity Account
This is your gateway to the online CNIC renewal process. You need to register an account on the Pak-Identity portal.
Step | Instructions / Details |
Visit the Pak-Identity Portal | Open your web browser and go to nadra.gov.pk. |
Click “Register an Account” | On the homepage, you’ll see an option to register. Click it to begin. |
Provide Personal Details | Enter your full name, email address, mobile number (Pakistani number usually required), and desired password. Choose a strong password you can remember. |
Verify Your Account | NADRA will send verification codes to your email and mobile number. Enter these codes on the portal to verify your account. This step is crucial for security. |
Login to Your Account | Once verified, log in using your newly created username (usually your email address) and password. |
Common Mistake: Forgetting your password or using an inactive email/mobile number. Make sure your details are current and accessible. If you forget your password, there’s usually a “Forgot Password” option on the login page.
Step 3: Initiating Your CNIC Renewal Application
Step / Section | Instructions / Details |
Start Application | Once logged in, navigate to “New Application” or “Apply for an ID” on your dashboard. |
Select Identity Card & Renewal | Choose “Identity Card”, then “Renewal of CNIC”. |
Choose Processing Type | Options:
Consider urgency and budget. Fees displayed accordingly. |
Enter CNIC Details | Provide existing CNIC number and expiry date. |
Filling Out Application Form | Personal Information: Full name, father’s/husband’s name, date & place of birth, gender, religion, marital status (marriage certificate if changing status). |
Anticipate Challenges | Double-check name spelling, DOB, and address details. Provide complete addresses including house number, street, sector/colony, mohalla, tehsil, district, and province. |
Uploading Documents & Photograph | Photograph: Upload a clear, recent passport-sized photo adhering to NADRA guidelines (white/light background). |
Biometric Verification | Pak-ID Mobile App (Recommended):
External Fingerprint Scanner (Optional): Use at e-Sahulat centers. |
Providing Attester/Witness Details | Enter attester’s CNIC: blood relative or gazetted officer. |
Reviewing & Submitting Application | Comprehensive review: Check all names, DOBs, addresses, uploaded documents, photo, and biometrics. |
Step 9: Paying the Application Fee
After successful submission, you will be directed to the payment gateway.
The fee varies depending on the processing speed you chose (Normal, Urgent, Executive) and the type of CNIC (Smart Card).
- Select Payment Method: The Pak-Identity portal primarily accepts payments via credit or debit card (Visa and MasterCard).
- Enter Card Details: Provide your card number, expiry date, and CVV/CVC code as requested.
- Complete Transaction: Follow the on-screen instructions to complete the payment. You might receive an OTP (One-Time Password) on your registered mobile number from your bank for verification. Enter this OTP to authorize the transaction.
- Confirmation: Once the payment is successful, you will receive a confirmation message on the portal, an email, and an SMS. Keep this confirmation as proof of payment.
Fee Structure (Approximate, subject to change):
- Normal: Around PKR 750 (Smart Card)
- Urgent: Around PKR 1100 (Smart Card)
- Executive: Around PKR 1500 (Smart Card)
Note: These fees are approximate and can change. Always check the official NADRA Pak-Identity portal for the most current fee structure before applying.
Step 10: Tracking Your Application Status
Once your application is submitted and payment is confirmed, you can keep an eye on its progress.
- Log in to Pak-Identity: Go back to nadra.gov.pk and log in to your account.
- Access “Track Application”: On your dashboard, there will be a section or tab for “Track Application” or “My Applications.”
- Enter Tracking ID: Enter the unique tracking ID that was provided to you after successful submission of your application. This ID is crucial, so keep it safe.
- View Status: The system will display the current status of your application (e.g., “Submitted,” “Under Process,” “Verification Pending,” “Card Printed,” “Dispatched,” “Delivered”).
What to expect at each stage:
- Submitted: Application received.
- Under Process: Your application is being reviewed by NADRA officials.
- Verification Pending: NADRA might be waiting for your attester’s verification or conducting internal checks.
- Additional Documents Required: If this status appears, NADRA will usually send an email or SMS detailing what additional documents or information are needed. Log back into your application to upload/provide them.
- Card Printed: Your new CNIC has been printed.
- Dispatched: Your card has been handed over to the courier service for delivery.
- Delivered: Your card has been successfully delivered.
Tip: If your application status shows “Additional Documents Required,” act quickly. Delays in providing the requested information can significantly prolong the process.
Step 11: Receiving Your Renewed CNIC
The final step is getting your physical card.
- Home Delivery: NADRA typically dispatches the renewed CNIC directly to the mailing address you provided during the application. This is usually done through Pakistan Post’s express service or a private courier company.
- Sign for Delivery: When the courier arrives, ensure you or an authorized person is available to receive and sign for the card.
- Verify Details: Upon receiving your card, immediately check all the details printed on it (name, father’s name, date of birth, address, CNIC number, expiry date) against your original application and personal records.
What to do if there’s an issue:
- Incorrect Details: If you find any discrepancy on the printed CNIC, immediately contact NADRA through their online complaint system or helpline. Do not try to correct it yourself. You may need to apply for a modification.
- Delayed Delivery: If your tracking status shows “Dispatched” but you haven’t received the card within the expected timeframe, first contact the courier service using the tracking number provided. If that doesn’t resolve it, file a complaint with NADRA through their online portal.
Important Considerations and Tips for a Smooth Process
Only use the official NADRA Pak-Identity website (id.nadra.gov.pk) for your application.
Online Complaint System
NADRA has an online complaint management system on its Pak-Identity portal.Renewing your CNIC through NADRA’s e-Sahulat and Pak-Identity portal is a streamlined process that offers great convenience. By following these steps carefully, preparing your documents, and staying vigilant, you can ensure a smooth and successful renewal, keeping your essential identity document up-to-date without unnecessary hassle.
Resources
- NADRA Pak-Identity Portal
- Pak-ID Mobile Application: Available on Google Play Store for Android and Apple App Store for iOS. Search for “Pak-ID by NADRA”.
- NADRA Helpline: You can find the latest contact numbers on the official NADRA website.