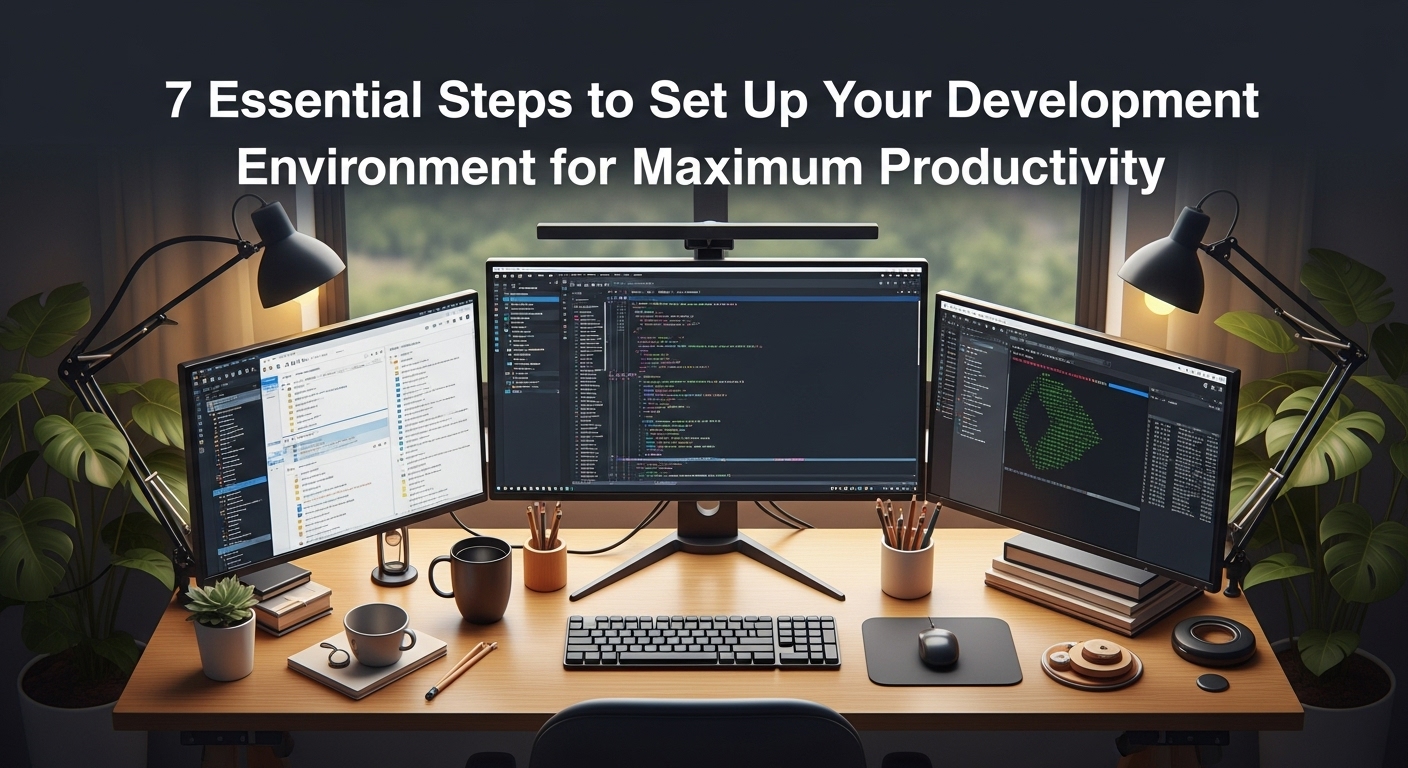
Setting up your development environment is the foundation of every successful programming journey. Whether you’re a beginner taking your first steps into coding or an experienced developer switching to a new tech stack, having the right development environment can dramatically boost your productivity and reduce frustration.
In this comprehensive guide, we’ll walk you through everything you need to know about creating an optimal dev environment that will serve as your digital workshop for years to come.
What is a Development Environment?
A development environment is a collection of tools, software, and configurations that programmers use to write, test, and debug code. Think of it as your digital workbench where you craft software applications. It typically includes:
- Code editor or IDE (Integrated Development Environment)
- Programming language runtimes and compilers
- Version control systems
- Package managers
- Debugging tools
- Terminal/command line interface
Why Setting Up Your Development Environment Matters
Before diving into the setup process, it’s crucial to understand why investing time in configuring your dev environment pays dividends:
Increased Productivity: A well-configured development environment reduces context switching and automates repetitive tasks, allowing you to focus on solving problems rather than fighting with tools.
Consistency: Having a standardized dev environment ensures your code works the same way across different machines and team members.
Reduced Errors: Proper linting, formatting, and debugging tools catch issues early in the development process.
Step 1: Choose Your Operating System
Your choice of operating system significantly impacts your development environment setup. Each OS has its strengths:
Operating System | Best For | Pros | Cons |
Windows | .NET, Game Development | Great IDE support, familiar interface | Less Unix-like, some tools require workarounds |
macOS | iOS Development, Web Development | Unix-based, excellent build quality | Expensive hardware, limited customization |
Linux | Server Development, Open Source | Complete control, lightweight, free | Steeper learning curve, hardware compatibility issues |
For beginners, Windows or macOS provide the most straightforward setup experience, while Linux offers maximum flexibility for advanced users.
Step 2: Select Your Code Editor or IDE
Choosing the right code editor is perhaps the most important decision in your development environment setup. Here are the top options:
Visual Studio Code (Recommended for Beginners)
Visual Studio Code has become the most popular choice for good reason. It offers:
- Extensive extension marketplace
- Built-in Git integration
- Intelligent code completion
- Integrated terminal
- Cross-platform compatibility
Download VS Code from the official Microsoft website and install essential extensions like:
- Language-specific extensions (Python, JavaScript, etc.)
- GitLens for enhanced Git capabilities
- Prettier for code formatting
- Live Server for web development
JetBrains IDEs
For more advanced development environment needs, JetBrains offers specialized IDEs:
- IntelliJ IDEA for Java development
- PyCharm for Python
- WebStorm for JavaScript and web technologies
These IDEs provide powerful debugging, refactoring, and project management capabilities but come with a learning curve and subscription cost.
Step 3: Install Programming Languages and Runtimes
Your development environment must include the programming languages you’ll be working with. Here’s how to install popular languages:
Python Development Environment
- Download Python from python.org
- Install pip (Python package manager)
- Set up virtual environments using
venvorconda - Install essential packages:
requests,numpy,pytest
JavaScript/Node.js Development Environment
- Install Node.js from nodejs.org
- Verify installation with
node --version - Install npm packages globally:
npm install -g nodemon eslint - Consider using a Node version manager like nvm
Java Development Environment
- Install OpenJDK from openjdk.java.net
- Set up JAVA_HOME environment variable
- Install Maven or Gradle for project management
- Configure your IDE for Java development
Step 4: Configure Version Control with Git
Version control is essential in any development environment. Git is the industry standard:
Git Installation and Setup
- Download Git from git-scm.com
- Configure your identity:
git config --global user.name "Your Name"
git config --global user.email "your.email@example.com"
- Set up SSH keys for secure repository access
- Create accounts on GitHub, GitLab, or Bitbucket
Essential Git Configuration
Configure Git to work seamlessly with your development environment:
git config --global init.defaultBranch main
git config --global pull.rebase false
git config --global core.autocrlf input  # For Mac/Linux
git config --global core.autocrlf true   # For Windows
Step 5: Set Up Package Managers
Package managers streamline the process of installing, updating, and managing dependencies in your environment:
For Different Operating Systems
Windows: Install Chocolatey package manager from chocolatey.org macOS: Install Homebrew from brew.sh Linux: Use your distribution’s native package manager (apt, yum, pacman)
Language-Specific Package Managers
- npm for JavaScript/Node.js
- pip for Python
- gem for Ruby
- composer for PHP
Step 6: Configure Your Terminal and Command Line
A powerful terminal enhances your development environment significantly:
Terminal Recommendations
Windows: Windows Terminal with PowerShell or WSL2 macOS: iTerm2 with Zsh Linux: Terminal with Bash or Zsh
Shell Customization
Install Oh My Zsh for enhanced shell functionality:
- Visit ohmyz.sh for installation instructions
- Choose a theme that displays Git information
- Install useful plugins:
git,npm,python
Step 7: Install Essential Development Tools
Complete your development environment with these crucial tools:
Database Tools
- PostgreSQL or MySQL for relational databases
- MongoDB for NoSQL databases
- Redis for caching and session storage
API Testing Tools
- Postman for API development and testing
- Insomnia as a lightweight alternative
- curl for command-line API testing
Browser Developer Tools
Modern browsers include powerful development tools:
- Chrome DevTools for debugging and performance analysis
- Firefox Developer Edition for additional development features
Optimizing Your Development Environment
Performance Tips
- Use SSD storage for faster file operations
- Allocate sufficient RAM (minimum 8GB, 16GB recommended)
- Configure IDE memory settings for large projects
- Use code indexing for faster search and navigation
Productivity Enhancements
Install these tools to boost your development environment efficiency:
- Alfred (macOS) or PowerToys (Windows) for quick launching
- Rectangle for window management
- Docker for containerized development
- Slack or Discord for team communication
Common Development Environment Setup Mistakes
Avoid these pitfalls when configuring your development environment:
- Skipping Documentation: Always document your setup process for future reference and team members.
- Not Using Environment Variables: Store sensitive information like API keys in environment variables, not in your code.
- Ignoring Security: Keep your development tools updated and use secure authentication methods.
- Over-customization: While customization is powerful, avoid making your development environment so unique that others can’t collaborate effectively.
Maintaining Your Development Environment
Your development environment requires ongoing maintenance:
Regular Updates
- Update your code editor and extensions monthly
- Keep programming language runtimes current
- Update package managers and global packages
- Maintain your operating system with security patches
Backup and Documentation
Create a setup script or documentation that allows you to recreate your development environment quickly. Consider using tools like:
- Vagrant for virtualized development environments
- Docker for containerized setups
- Ansible for automated configuration management
Advanced Development Environment Configurations
Remote Development
Modern development increasingly involves remote setups:
- VS Code Remote Development for coding on remote servers
- GitHub Codespaces for cloud-based development environments
- AWS Cloud9 for browser-based IDEs
Team Synchronization
Ensure your development environment works well with your team:
- Use EditorConfig for consistent formatting
- Implement pre-commit hooks for code quality
- Share Docker compose files for consistent service dependencies
Conclusion
Setting up your dev environment is an investment that pays dividends throughout your programming career. By following this guide, you’ve created a solid foundation that will boost your productivity and make coding more enjoyable.
Remember that your environment should evolve with your needs. Start with the basics covered in this guide, then gradually add specialized tools as your projects require them.
The key to a successful environment for development is finding the right balance between functionality and simplicity. Don’t overcomplicate things initially, but don’t hesitate to invest time in tools that genuinely improve your workflow.
Take time to regularly review and optimize your setup. What works for you today might not be optimal six months from now as you grow as a developer and tackle new challenges.
Your development environment is more than just a collection of tools—it’s your creative workspace where great software comes to life. Invest in it wisely, maintain it regularly, and it will serve you well throughout your development journey.