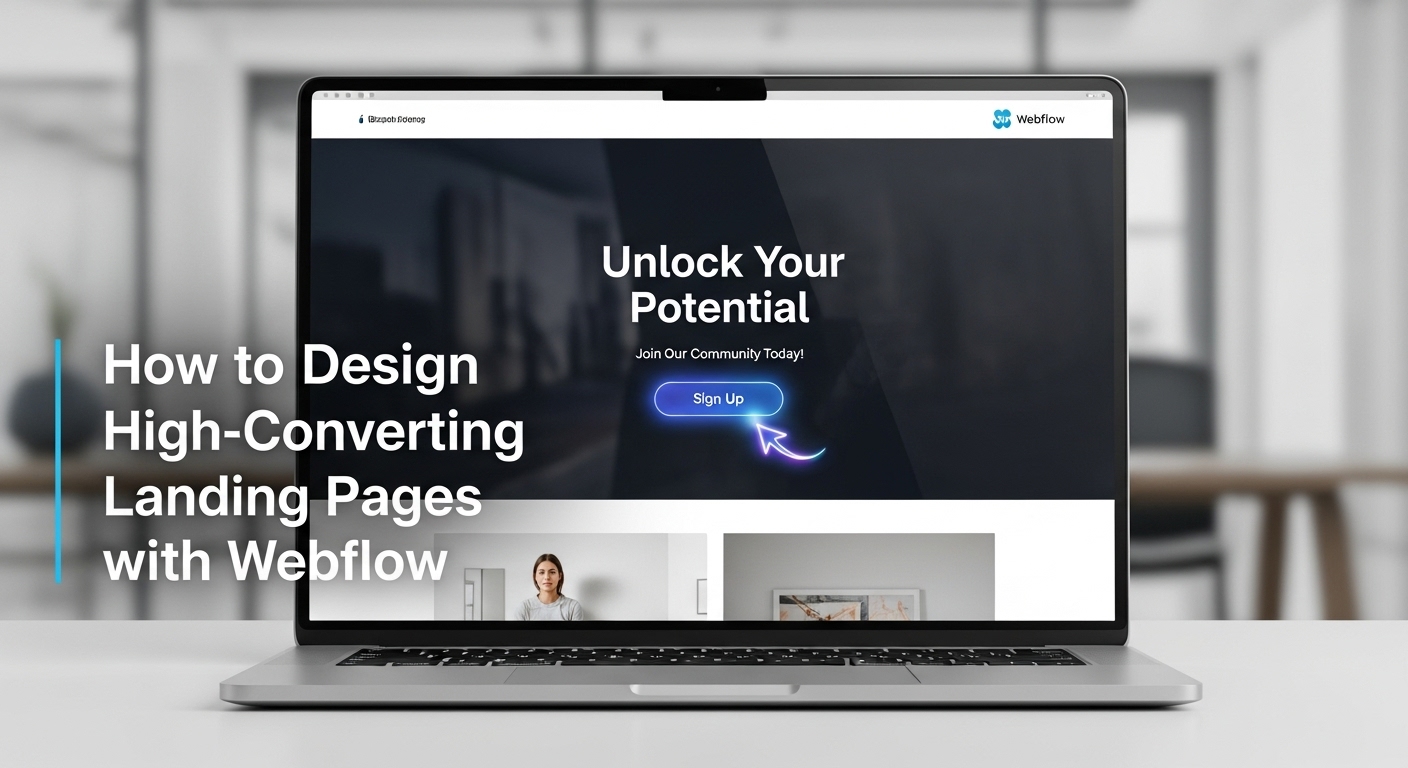
Learning how to design landing pages with Webflow has become essential for marketers and designers seeking to create high-converting pages without extensive coding knowledge. This comprehensive guide will walk you through every step of building professional landing pages that drive results.
Webflow’s visual development platform empowers you to create stunning, responsive landing pages that convert visitors into customers. Whether you’re launching a new product, capturing leads, or promoting a service, mastering Webflow’s landing page capabilities can significantly impact your business success.
What Makes Webflow Perfect for Landing Page Design?
Webflow stands out as a premier platform to design landing pages with Webflow due to its unique combination of visual design tools and powerful development capabilities. Unlike traditional page builders, Webflow generates clean, semantic code while providing complete design freedom.
The platform offers several advantages for landing page creation:
- Visual Development Environment: Design directly in the browser with real-time preview capabilities, eliminating the gap between design and development.
- Responsive Design Controls: Built-in breakpoint management ensures your landing pages look perfect on all devices.
- Advanced Interactions: Create engaging animations and micro-interactions without writing JavaScript.
- SEO-Friendly Output: Webflow generates optimized code structure and provides comprehensive SEO controls.
- CMS Integration: Seamlessly integrate dynamic content for personalized landing page experiences.
Step 1: Planning Your Webflow Landing Page Strategy
Before you begin to design landing pages with Webflow, establish a clear strategy that aligns with your business objectives. Effective planning sets the foundation for high-converting pages.
Define Your Landing Page Goals
Start by identifying your primary conversion goal. Common landing page objectives include:
- Lead generation through form submissions
- Product sales and e-commerce conversions
- Event registrations and webinar sign-ups
- App downloads and software trials
- Newsletter subscriptions and content downloads
Research Your Target Audience
Understanding your audience is crucial when you design landing pages with Webflow. Create detailed user personas that include demographics, pain points, motivations, and preferred communication styles.
Analyze your existing customer data to identify patterns in behavior, preferences, and conversion paths. This information will guide your design decisions and content strategy.
Competitive Analysis and Best Practices
Study successful landing pages in your industry to identify effective design patterns and messaging strategies. Tools like Unbounce’s Landing Page Examples provide inspiration and proven templates.
Document what works well for competitors, but focus on creating unique value propositions that differentiate your offering.
Step 2: Setting Up Your Webflow Project Structure
When you design landing pages with Webflow, proper project organization ensures efficient workflow and easier maintenance. Follow these structural best practices:
Project Organization
Create a logical folder structure within your Webflow project:
Folder Type | Purpose | Examples |
Pages | Individual landing pages | Product launches, lead magnets |
Symbols | Reusable components | Headers, footers, CTA buttons |
Assets | Images and media | Hero images, product photos |
Classes | Style definitions | Typography, spacing, colors |
Style Guide Development
Establish a consistent design system before creating your landing page elements. Define:
- Typography Hierarchy: Set up text styles for headings, body text, captions, and call-to-action elements.
- Color Palette: Choose primary, secondary, and accent colors that align with your brand identity.
- Spacing System: Use consistent margins and padding values throughout your design.
- Component Library: Create reusable symbols for buttons, forms, and content sections.
Step 3: Crafting Compelling Landing Page Content
Content is the foundation of successful landing page conversion when you design landing pages with Webflow. Your messaging must resonate with visitors and guide them toward your desired action.
Writing Persuasive Headlines
Your headline is often the first element visitors encounter. Craft headlines that:
- Clearly communicate your value proposition
- Include emotional triggers and power words
- Address specific pain points or desires
- Create urgency or exclusivity when appropriate
Example Formula: [Benefit] + [Target Audience] + [Time Frame/Outcome]
“Increase Your Sales by 40% in 30 Days with Our Proven Marketing System”
Developing Supporting Copy
Body copy should support your headline while providing additional details that build trust and address objections. Structure your content using:
Problem-Agitation-Solution (PAS) Framework:
- Identify the problem your audience faces
- Agitate the consequences of not solving it
- Present your solution as the answer
Features vs. Benefits Approach: Transform product features into customer benefits by focusing on outcomes rather than specifications.
Creating Effective Call-to-Actions
Your CTA buttons are critical conversion elements when you design landing pages with Webflow. Optimize them by:
- Using action-oriented language (“Get Started,” “Download Now”)
- Creating visual prominence through color and placement
- Testing different text variations and button designs
- Ensuring mobile-friendly sizing and positioning
Step 4: Designing Visual Elements in Webflow
Webflow’s visual design capabilities allow you to create professional landing pages without coding expertise. Master these essential design techniques:
Layout and Grid Systems
Use Webflow’s flexbox and grid systems to create structured, responsive layouts. Common landing page structures include:
- Single Column Layout: Ideal for focused, linear conversion paths with minimal distractions.
- Two-Column Layout: Effective for featuring content alongside supporting visuals or testimonials.
- Section-Based Design: Organize content into distinct sections for features, benefits, and social proof.
Typography and Visual Hierarchy
Establish clear information hierarchy through typography choices when you design landing pages with Webflow:
- Heading Sizes: Use a logical scale (H1 > H2 > H3) to guide reader attention.
- Font Pairing: Combine complementary typefaces for visual interest while maintaining readability.
- Line Height and Spacing: Ensure adequate white space for comfortable reading across devices.
Color Psychology and Branding
Strategic color use influences user behavior and brand perception:
- Primary Colors: Use your brand colors consistently across key elements.
- Accent Colors: Employ contrasting colors for CTA buttons and important highlights.
- Neutral Tones: Balance vibrant colors with neutral backgrounds for optimal readability.
Research from Adobe Color shows that 85% of consumers cite color as the primary reason for purchasing decisions.
Step 5: Implementing Responsive Design Principles
Mobile optimization is essential when you design landing pages with Webflow, as mobile traffic often exceeds desktop usage. Webflow’s responsive design tools make cross-device optimization straightforward.
Breakpoint Management
Webflow provides four default breakpoints:
Device Type | Breakpoint | Design Considerations |
Desktop | 992px+ | Full feature set, horizontal layouts |
Tablet | 768px-991px | Simplified navigation, stacked content |
Mobile Landscape | 480px-767px | Condensed layouts, larger touch targets |
Mobile Portrait | 479px and below | Single column, thumb-friendly design |
Mobile-First Design Approach
Start designing for mobile devices and progressively enhance for larger screens. This approach ensures optimal performance and user experience across all devices.
Mobile Optimization Checklist:
- Legible text without zooming (minimum 16px font size)
- Touch-friendly button sizes (minimum 44px)
- Fast loading times (under 3 seconds)
- Simplified navigation and minimal form fields
Touch Interface Considerations
Design interactive elements specifically for touch interfaces when you design landing pages with Webflow:
- Button Sizing: Ensure adequate spacing between clickable elements to prevent accidental taps.
- Form Optimization: Use appropriate input types and labels for better mobile form completion.
- Scroll Behavior: Design for vertical scrolling patterns common on mobile devices.
Step 6: Optimizing for Conversions
Conversion optimization transforms visitors into customers when you design landing pages with Webflow. Implement these proven strategies:
Form Design and Optimization
Landing page forms are often the final conversion step. Optimize them through:
- Field Reduction: Request only essential information to minimize friction.
- Smart Defaults: Pre-populate fields when possible to speed completion.
- Error Prevention: Use real-time validation to prevent submission errors.
- Progress Indicators: Show form completion progress for longer forms.
Social Proof Integration
Build credibility through various social proof elements:
- Customer Testimonials: Feature specific, results-oriented testimonials with photos and names.
- Trust Badges: Display security certifications, awards, and industry recognition.
- Usage Statistics: Highlight customer counts, download numbers, or success metrics.
- Case Studies: Provide detailed success stories that demonstrate your solution’s effectiveness.
Urgency and Scarcity Tactics
Create motivation for immediate action through:
- Limited-Time Offers: Use countdown timers for genuine time-sensitive promotions.
- Limited Quantity: Display remaining inventory or available spots.
- Exclusive Access: Offer special deals for landing page visitors.
- Seasonal Relevance: Align offers with current events or seasons.
Step 7: Advanced Webflow Features for Landing Pages
Leverage Webflow’s advanced capabilities to create dynamic, engaging landing pages when you design landing pages with Webflow.
Custom Interactions and Animations
Webflow’s interaction designer allows you to create engaging animations without coding:
- Scroll-Based Animations: Trigger animations as users scroll through your content.
- Hover Effects: Add interactive feedback for buttons and clickable elements.
- Loading Animations: Create engaging entry animations for page elements.
- Micro-interactions: Design subtle feedback animations for form interactions.
CMS Integration for Dynamic Content
Use Webflow’s CMS to create dynamic landing pages:
- Template Pages: Build landing page templates that automatically populate with CMS content.
- Personalization: Display different content based on user characteristics or behavior.
- A/B Testing Content: Easily swap content variations for testing purposes.
- Multi-language Support: Create localized landing pages for different markets.
Third-Party Integrations
Connect your landing pages with essential marketing tools:
- Analytics Integration: Connect Google Analytics for detailed performance tracking.
- Email Marketing: Integrate with platforms like Mailchimp or ConvertKit for automated follow-up sequences.
- CRM Systems: Connect form submissions to customer relationship management tools.
- Payment Processing: Integrate payment gateways for direct sales capabilities.
Testing and Optimization Strategies
Continuous improvement is essential when you design landing pages with Webflow. Implement systematic testing approaches:
A/B Testing Methodology
Test individual elements systematically:
- Headlines: Compare different value propositions and emotional appeals.
- CTA Buttons: Test colors, text, and placement variations.
- Images: Evaluate different visual approaches and hero images.
- Layout Variations: Compare single vs. multi-column designs.
Performance Monitoring
Track key metrics that indicate landing page success:
Metric | Definition | Target Range |
Conversion Rate | Visitors who complete desired action | 2-5% (varies by industry) |
Bounce Rate | Visitors who leave without interaction | Under 40% |
Time on Page | Average session duration | 1-3 minutes |
Page Load Speed | Time to fully load page | Under 3 seconds |
Heat Map Analysis
Use tools like Hotjar or Crazy Egg to understand user behavior patterns and identify optimization opportunities.
Common Mistakes to Avoid
Learn from these frequent pitfalls when you design landing pages with Webflow:
Design-Related Mistakes
- Information Overload: Avoid cramming too much information above the fold.
- Poor Visual Hierarchy: Ensure clear progression from headline to CTA.
- Inconsistent Branding: Maintain consistent colors, fonts, and messaging.
- Mobile Neglect: Always test and optimize for mobile devices.
Content and Strategy Mistakes
- Weak Value Propositions: Clearly communicate unique benefits and differentiation.
- Multiple CTAs: Focus on single, primary conversion goals per page.
- Generic Messaging: Avoid broad, non-specific language that doesn’t resonate.
- Missing Social Proof: Include credibility indicators and trust signals.
Future Trends in Landing Page Design
Stay ahead of evolving trends when you design landing pages with Webflow:
Emerging Technologies
- AI Personalization: Dynamic content adaptation based on user behavior and preferences.
- Voice Interface Integration: Optimize for voice search and interaction patterns.
- Augmented Reality: Interactive product demonstrations and virtual try-ons.
- Progressive Web Apps: App-like experiences within web browsers.
Design Evolution
- Dark Mode Support: Provide theme options for improved user experience.
- Accessibility Focus: Ensure inclusive design for users with disabilities.
- Minimalist Aesthetics: Clean, focused designs that prioritize content and conversion.
- Interactive Storytelling: Engaging narrative approaches that guide users through conversion journeys.
Conclusion
Mastering how to design landing pages with Webflow opens unlimited possibilities for creating high-converting marketing assets. By following this comprehensive guide, you’ll develop the skills necessary to build professional landing pages that drive measurable results.
Successful landing page design combines strategic planning, compelling content, visual excellence, and continuous optimization. Webflow provides the tools and flexibility to bring your vision to life while maintaining the technical excellence required for optimal performance.
Start implementing these strategies today, and watch your conversion rates improve as you create landing pages that truly connect with your audience and drive business growth.
The key to long-term success lies in continuous learning, testing, and refinement. Use Webflow’s capabilities to experiment with new approaches while maintaining focus on your core conversion objectives.

