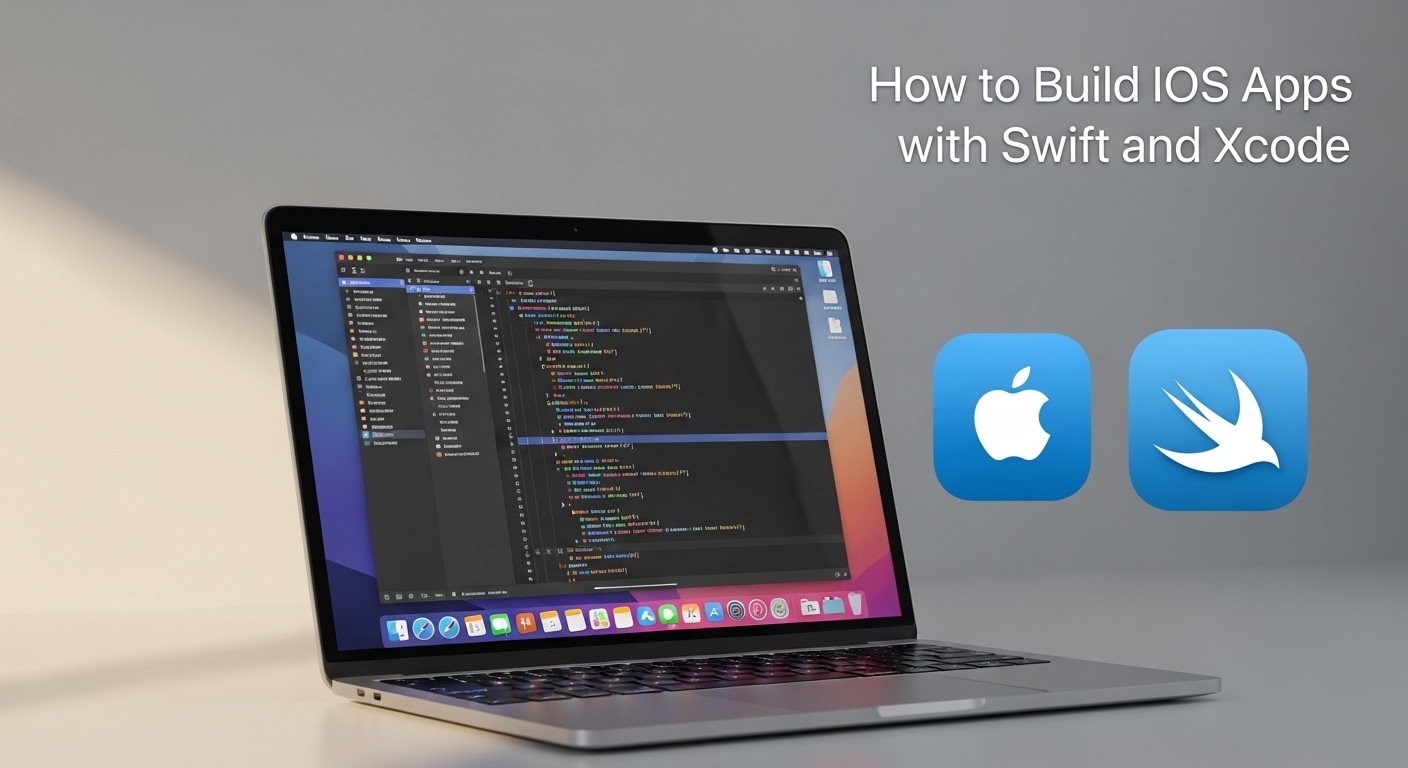
Building successful iOS applications has never been more accessible, yet the path to mastering iOS development can seem overwhelming for newcomers. If you want to build iOS apps with Swift and Xcode, this comprehensive guide will transform you from a beginner into a confident iOS developer.
The iOS app market generates billions in revenue annually, making it one of the most lucrative platforms for developers worldwide. Whether you’re dreaming of creating the next viral social media app or developing enterprise solutions, learning to build iOS apps with Swift and Xcode is your gateway to this thriving ecosystem.
Why Choose Swift and Xcode for iOS Development?
Apple’s Swift programming language revolutionized iOS development when it launched in 2014. Unlike its predecessor Objective-C, Swift offers modern syntax, enhanced safety features, and superior performance that make it the optimal choice for iOS development.
Xcode serves as Apple’s official integrated development environment (IDE), providing everything needed to design, code, test, and deploy iOS applications. Together, Swift and Xcode create a powerful combination that enables developers to build iOS apps with Swift and Xcode efficiently and professionally.
Key Advantages of Swift:
- Type Safety: Prevents common programming errors at compile time
- Memory Management: Automatic reference counting eliminates memory leaks
- Performance: Optimized for speed and efficiency
- Readability: Clean, intuitive syntax resembling natural language
- Interoperability: Seamless integration with existing Objective-C code
Step 1: Setting Up Your Development Environment
Before you can build iOS apps with Swift and Xcode, you need to establish your development environment properly.
System Requirements
Component | Minimum Requirement | Recommended |
macOS | macOS 12 Monterey | macOS 14 Sonoma or later |
RAM | 8GB | 16GB or more |
Storage | 50GB free space | 100GB+ free space |
Xcode Version | Xcode 14 | Latest stable version |
Installing Xcode
- Open the Mac App Store
- Search for “Xcode”
- Click “Get” or “Install” (it’s free)
- Wait for the download to complete (several GB)
- Launch Xcode and accept the license agreement
Pro tip: Xcode includes the iOS Simulator, Interface Builder, and all necessary SDKs to build iOS apps with Swift and Xcode without additional downloads.
Step 2: Understanding Xcode’s Interface
Xcode’s interface consists of several key areas that you’ll use constantly:
Navigator Area (Left Panel)
- Project Navigator: Manages your project files and folders
- Symbol Navigator: Displays classes, methods, and properties
- Find Navigator: Searches across your entire project
- Issue Navigator: Shows compilation errors and warnings
Editor Area (Center)
- Source Editor: Where you write Swift code
- Interface Builder: Visual design tool for user interfaces
- Version Editor: Compare different versions of files
Inspector Area (Right Panel)
- File Inspector: File properties and settings
- Quick Help Inspector: Documentation and code hints
- Identity Inspector: Object properties and configurations
Debug Area (Bottom)
- Console: Displays print statements and error messages
- Variables View: Inspect variable values during debugging
Step 3: Swift Programming Fundamentals
To successfully build iOS apps with Swift and Xcode, you must master Swift’s core concepts.
Variables and Constants
// Constants (immutable)
let appName = "My iOS App"
let version = 1.0

// Variables (mutable)
var userCount = 0
var isLoggedIn = false
Data Types
Swift provides several built-in data types essential for iOS development:
- String: Text data
- Int: Whole numbers
- Double/Float: Decimal numbers
- Bool: True/false values
- Array: Ordered collections
- Dictionary: Key-value pairs
Functions
Functions are reusable blocks of code that perform specific tasks:
func calculateTotal(price: Double, tax: Double) -> Double {
    return price + (price * tax)
}

let total = calculateTotal(price: 100.0, tax: 0.08)
Classes and Structures
Object-oriented programming concepts are crucial when you build iOS apps with Swift and Xcode:
class User {
    var name: String
    var email: String

    init(name: String, email: String) {
        self.name = name
        self.email = email
    }

    func displayInfo() {
        print("Name: \(name), Email: \(email)")
    }
}
Step 4: Creating Your First iOS Project
Let’s walk through creating a new iOS project to build iOS apps with Swift and Xcode.
Project Creation Steps
- Launch Xcode
- Select “Create a new Xcode project”
- Choose “iOS” platform
- Select “App” template
- Configure project settings:
- Product Name: Your app’s name
- Bundle Identifier: Unique identifier (com.yourname.appname)
- Language: Swift
- Interface: Storyboard or SwiftUI
- Use Core Data: Check if needed
Project Structure
When you build iOS apps with Swift and Xcode, understanding the project structure is essential:
- AppDelegate.swift: App lifecycle management
- SceneDelegate.swift: Scene-based lifecycle (iOS 13+)
- ViewController.swift: Main view controller
- Main.storyboard: Visual interface design
- Info.plist: App configuration settings
Step 5: Designing User Interfaces
Creating compelling user interfaces is crucial when you build iOS apps with Swift and Xcode. You have two primary approaches:
Storyboard Approach
Interface Builder provides a visual way to design your app’s interface:
- Drag and Drop Components: Add UI elements like buttons, labels, and text fields
- Auto Layout: Create responsive designs that work across all devices
- Segues: Define navigation between screens
- Outlets and Actions: Connect interface elements to your code
SwiftUI Approach (Modern Alternative)
SwiftUI offers a declarative approach to UI development:
import SwiftUI

struct ContentView: View {
    @State private var userName = ""

    var body: some View {
        VStack {
            TextField("Enter your name", text: $userName)
                .textFieldStyle(RoundedBorderTextFieldStyle())
                .padding()

            Button("Submit") {
                print("Hello, \(userName)!")
            }
            .buttonStyle(DefaultButtonStyle())
        }
        .padding()
    }
}
Step 6: Implementing Core Functionality
When you build iOS apps with Swift and Xcode, implementing core app functionality involves several key patterns:
Model-View-Controller (MVC) Pattern
MVC separates your app into three distinct components:
- Model: Data and business logic
- View: User interface elements
- Controller: Mediates between Model and View
Navigation and View Controllers
iOS apps typically use navigation controllers to manage screen transitions:
class MainViewController: UIViewController {
    override func viewDidLoad() {
        super.viewDidLoad()
        setupUI()
    }

    private func setupUI() {
        title = "My App"
        navigationController?.navigationBar.prefersLargeTitles = true
    }

    @IBAction func nextButtonTapped(_ sender: UIButton) {
        let storyboard = UIStoryboard(name: "Main", bundle: nil)
        let nextVC = storyboard.instantiateViewController(withIdentifier: "NextViewController")
        navigationController?.pushViewController(nextVC, animated: true)
    }
}
Data Persistence
Most apps need to store data locally. Core Data provides a powerful framework for data management:
import CoreData

class DataManager {
    lazy var persistentContainer: NSPersistentContainer = {
        let container = NSPersistentContainer(name: "DataModel")
        container.loadPersistentStores { _, error in
            if let error = error {
                print("Core Data error: \(error)")
            }
        }
        return container
    }()

    func saveContext() {
        let context = persistentContainer.viewContext
        if context.hasChanges {
            try? context.save()
        }
    }
}
Step 7: Testing and Debugging
Professional developers who build iOS apps with Swift and Xcode prioritize testing and debugging throughout the development process.
Using the iOS Simulator
The iOS Simulator allows you to test your app on different devices without physical hardware:
- Select Target Device: Choose from various iPhone and iPad models
- Simulate Hardware: Test rotation, memory warnings, and location services
- Debug Features: Use breakpoints and print statements
- Performance Testing: Monitor CPU, memory, and network usage
Unit Testing
Create robust apps by implementing unit tests:
import XCTest
@testable import YourApp

class CalculatorTests: XCTestCase {

    func testAddition() {
        let calculator = Calculator()
        let result = calculator.add(5, 3)
        XCTAssertEqual(result, 8)
    }

    func testDivisionByZero() {
        let calculator = Calculator()
        XCTAssertNil(calculator.divide(10, by: 0))
    }
}
Common Debugging Techniques
Issue Type | Debugging Method | Tool/Feature |
Crashes | Breakpoints | Xcode Debugger |
Memory Leaks | Instruments | Memory Profiler |
UI Issues | View Hierarchy | Debug View Hierarchy |
Performance | Time Profiler | Instruments |
Step 8: App Store Preparation and Deployment
The final step to build iOS apps with Swift and Xcode involves preparing your app for the App Store.
App Store Requirements
Before submission, ensure your app meets Apple’s guidelines:
- Functionality: App must be fully functional without crashes
- Design: Follow Human Interface Guidelines
- Content: Appropriate for intended audience
- Performance: Responsive and efficient
- Privacy: Proper privacy policy and permissions
Creating App Store Assets
Prepare the following materials:
- App Icons: Multiple sizes for different contexts
- Screenshots: Required for all supported devices
- App Description: Compelling copy that highlights features
- Keywords: Relevant terms for App Store optimization
- Privacy Policy: Required for most apps
Distribution Process
- Create App Store Connect Account
- Generate Distribution Certificate
- Create Provisioning Profiles
- Archive Your App
- Upload via Xcode or Application Loader
- Submit for Review
Advanced Topics for iOS Development
As you continue to build iOS apps with Swift and Xcode, consider exploring these advanced concepts:
Networking and APIs
Most modern apps communicate with web services:
import Foundation

class NetworkManager {
    func fetchData(from url: URL, completion: @escaping (Data?, Error?) -> Void) {
        let task = URLSession.shared.dataTask(with: url) { data, response, error in
            DispatchQueue.main.async {
                completion(data, error)
            }
        }
        task.resume()
    }
}
Third-Party Libraries
Leverage existing solutions through Swift Package Manager or CocoaPods:
- Alamofire: Simplified HTTP networking
- Kingfisher: Asynchronous image downloading
- Firebase: Backend services and analytics
- Realm: Alternative to Core Data
For comprehensive documentation on Swift Package Manager, visit Apple’s official Swift documentation.
Design Patterns
Master common iOS design patterns:
- Singleton: Single instance classes
- Observer: Notification and delegation patterns
- Factory: Object creation patterns
- MVVM: Model-View-ViewModel architecture
Performance Optimization Tips
When you build iOS apps with Swift and Xcode, performance should be a top priority:
Memory Management Best Practices
- Use weak references to prevent retain cycles
- Release large objects when no longer needed
- Implement proper image caching strategies
- Monitor memory usage with Instruments
Code Optimization
- Prefer value types (structs) over reference types (classes) when appropriate
- Use lazy initialization for expensive operations
- Implement efficient algorithms and data structures
- Profile code performance regularly
Common Challenges and Solutions
Every developer faces obstacles when learning to build iOS apps with Swift and Xcode. Here are common issues and their solutions:
Auto Layout Complexity
- Challenge: Creating responsive layouts that work across all devices.
- Solution: Master constraint priorities, stack views, and size classes. Practice with simple layouts before attempting complex designs.
Memory Management
- Challenge: Understanding retain cycles and memory leaks.
- Solution: Use Xcode’s memory graph debugger and Instruments to identify issues. Learn when to use weak and unowned references.
Asynchronous Programming
- Challenge: Managing network requests and UI updates.
- Solution: Master Grand Central Dispatch (GCD) and understand the main queue vs. background queues.
Resources for Continued Learning
To excel at building iOS apps with Swift and Xcode, continue learning through these resources:
- Apple’s Official iOS Development Documentation
- Swift Programming Language Guide
- Human Interface Guidelines
- WWDC Session Videos
Conclusion
Learning to build iOS apps with Swift and Xcode opens doors to endless possibilities in mobile development. This comprehensive guide has covered everything from setting up your development environment to submitting apps to the App Store.
The journey to becoming a proficient iOS developer requires patience, practice, and persistence. Start with simple projects, gradually increasing complexity as your skills improve. Remember that even experienced developers continuously learn new techniques and adapt to Apple’s evolving platforms.
Whether you’re building your first “Hello World” app or planning the next breakthrough mobile application, the fundamentals outlined in this guide will serve as your foundation. The iOS development community is vibrant and supportive, so don’t hesitate to engage with fellow developers and contribute to open-source projects.